One of the most useful tools in image editing software allows the selection and adjustment of only part of the image. In Adobe Photoshop and Adobe Photoshop Elements, this is known as the Quick Select function.
On this page, we’ll look at the steps for Quick Selection and adjustment of part of an image, as outlined in Teaching Digital Photography: The Ultimate Guide to ‘Tween and Teen Learning by Keith Kyker (Libraries Unlimted, 2014)
The picture we will use was taken on a rainy day at the Alaska Botanical Garden in Anchorage, Alaska. I am reasonably sure I used flash on this picture. As a result, the top flower (on the right) is overly bright, and the bottom-left flower is a bit darker. It’s a subtle difference, but we can use the Quick Select function to equalize the two flowers.
Before we begin, here are a few things worth mentioning.
- This image can be found on the DVD that accompanies Teaching Digital Photography: The Ultimate Guide to ‘Tween and Teen Learning by Keith Kyker (Libraries Unlimted, 2014)
- The software used is Adobe Photoshop Elements 8. I purposely used an older, less-expensive version of Adobe image adjustment software to illustrate the fact that you don’t need the latest, greatest, most-expensive software to adjust your images.
- You can enlarge each image on the screen by clicking on it.
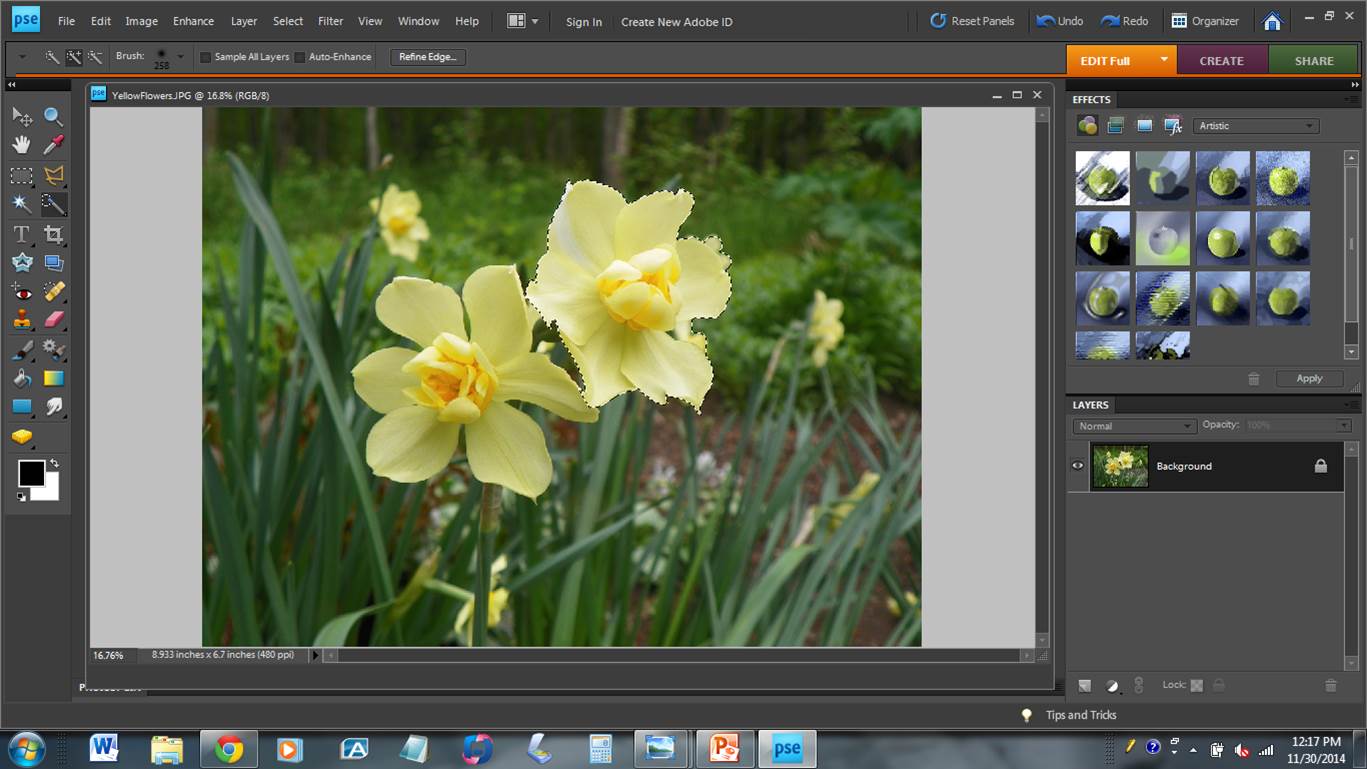
Here’s the picture we will start with. You can see that the right flower is considerably brighter than the left flower.

Our first step is to select the right flower. Using the Quick Select tool, we glide the mouse over the right flower. The contiguous parts of the image are automatically selected. If we accidentally select a part of the image other than the right flower, we can deselect that portion. The Quick Selected portion is indicated by an oscillating dotted line. In Photoshop-speak, this line is called “marching ants” because it resembles a line of ants walking.
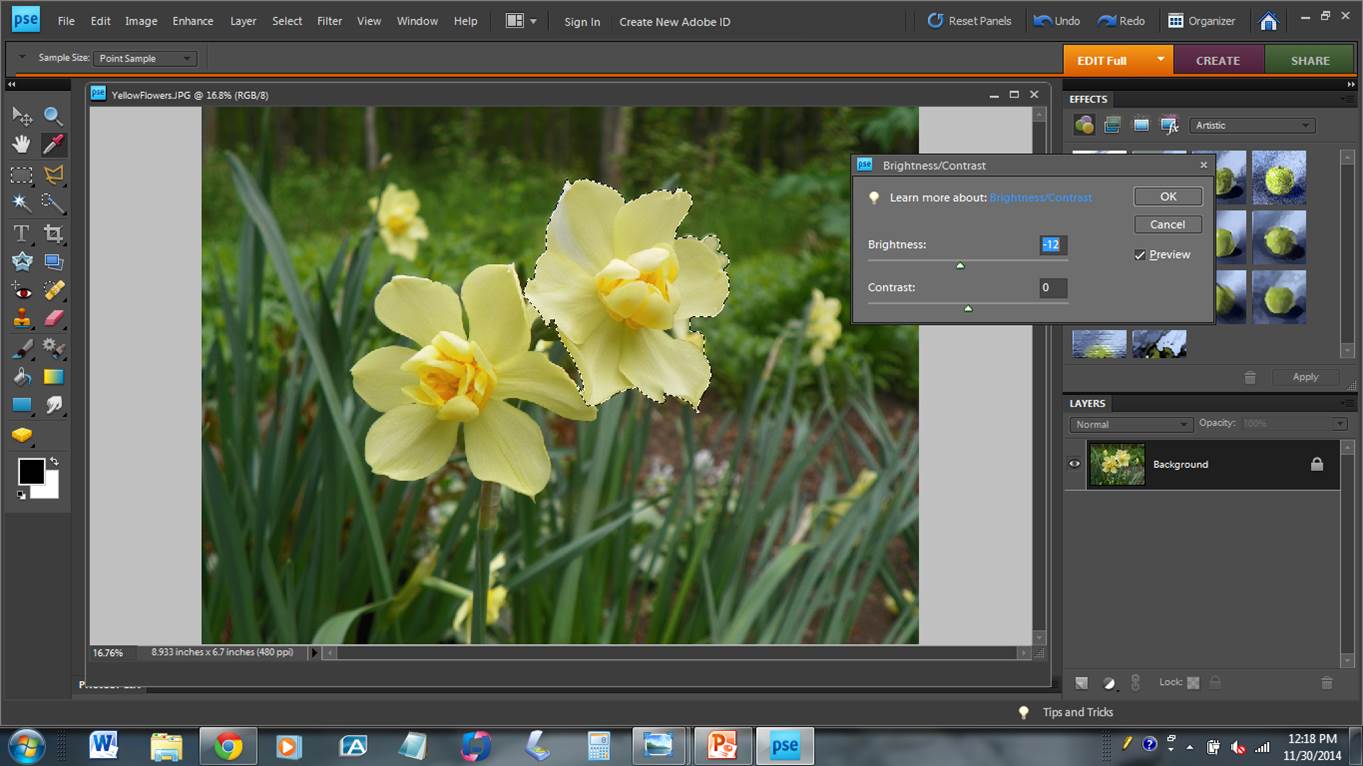
Now that we have Quick Selected the right flower, we can apply any of the image adjustments mentioned on the Basic Image Adjustment page (the turtle.) For this image, we will simply reduce the brightness on the right flower.
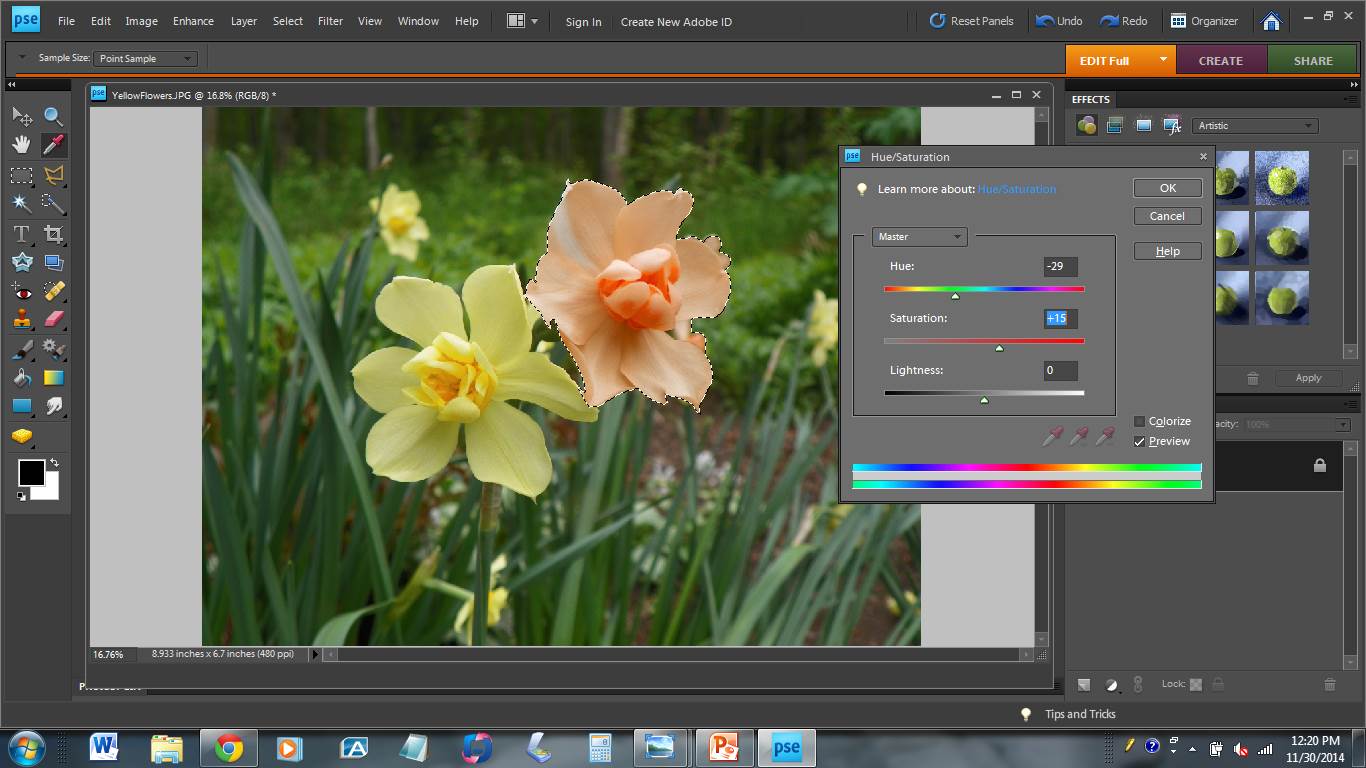
Once again, the change is subtle, but effective. We can also make less-subtle changes, including changing the hue of the flower.
That’s a very simple explanation of the Quick Select process. Remember to use Quick Select when a specific part of the image needs adjustment.
==========================================================================
Notice: this web-page, all images, and all instructions are copyright 2014 Keith Kyker. Read it. Learn from it. Link to it. Use it as a teaching tool with students enrolled in your class. But do not copy it and/or claim it as your own work. Thank you.